Folks, this is probably my last post before I leave for India. It's a 3 month vacation and I am really not sure how much I can post before I come back. I do have a collection of recipes, that I experimented with past few months and hadn't gotten around to posting. As and when time permits, I will try to post them. However, no promises!!! In the meantime, I leave you with another treat for the sweet tooth. Bangla Special..shondesh!!!
The whole trick to this mithai, or for that matter any bangla mithai, is the chenna/paneer. Whats the difference between chenna and paneer?..From what I understand, the curds from the milk is the chenna and when its drained completely dry, its paneer. But, I might be wrong. Anyone who knows better, may please feel free to correct me. I would really like to know. I really should be packing for my trip and not writing a post. Which is why, I am going to explain the whole process in pictures.
For the chenna, curdle the milk first.
6 cups whole milk
2 cups dahi, beaten till smooth
You know the process. Bring milk to a boil. Remove from flame and stir in the dahi ,a little at a time, till the curds separate. If you need more dahi, add more. It should look like below.

Using dahi instead of citric acid/vinegar results in softer curds. Also, the curds won't have the sour taste of the acid/vinegar, which is really important for a mithai. Be careful that you don't burn the milk and please don't scrape the bottom while you stir the milk. The brown bits you see in the photo above result from the same mistake. I had a tough time removing that, once the chenna was formed. Lesson Number 1 learnt….
Next,strain it in a muslin cloth. Once all the whey has drained, pull together all four corners of the cloth and twist it. Keep twisting till the chenna forms a ball of sorts. The twisting will also remove any additional whey left in the curd. Tie the cloth with the chenna ball to the tap in your sink, or generally, any place where the chenna can be suspended at a height. Tying it to the tap just means that I don't have to clean up any remaining whey, that is draining away. Like so.

Yep, the brown spots still there. You don't have to hang it for long, just till the whey stops being a steady drip. Remove the chenna from the bag. This is what you will end up with.

Yeah, yeah, I know. the brown spots. Chenna is ready. Now, we can move on to making the sandesh.
Recipe
1 1/4 cups chenna
1/4 cup powdered sugar
Now, take the chenna in a wide bowl. Add the sugar to it and start kneading it. Knead till very, very, very smooth. It took me 5 minutes for this amount of chenna (That is, after I painstakingly removed all the brown spots). But the time is so dependent on kneading style. All I can say is that, the chenna loses its grainy texture and becomes a soft, smooth dough. When you form a ball with it, it will not have any cracks.

Before Kneading

After Kneading
Add flavorings. I added cardamom and saffron(nuke 1 tbsp of milk , add saffron and then add it to the chenna) You can add rose essence and a drop of pink color, which is the classic way of making sandesh.You can call that rose sandesh. 🙂
Cook on a very low flame in a kadhai stirring continuously with a flat wooden spoon. Remove the kadhai from the flame at regular intervals so as not to overheat the sandesh. If it does over heat, it will become grainy and recurdle. Not good. And, no, that was not lesson number 2. The sandesh is ready when it leaves the sides of the kadhai and is neither too dry nor too moist. This doesn't take long, as you have already kneaded it. Just about 2-3 minutes. Some recipes that I researched on the internet, did not cook the chenna after kneading it. So you can completely skip this step. But, I like the flavor, after it is sauteed, better. So, I did.
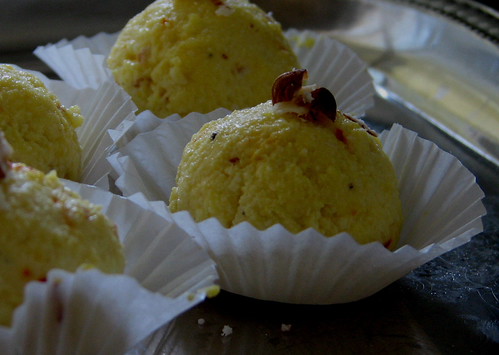
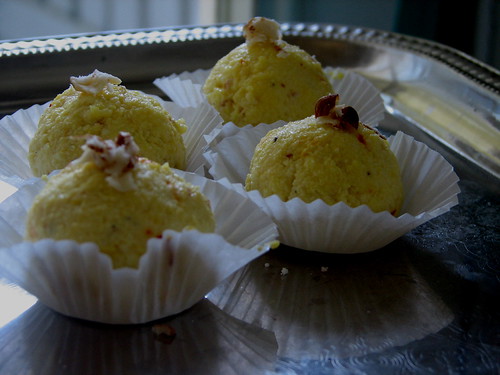
It should have the consistency of very soft dough. The sandesh should be used immediately for making various shapes and garnishes. This, my friends, is lesson number 2. I didn't shape it immediately and hence, did not get smooth, uncracked balls. Here's where the 'asbestos hands' thingy comes handy. But, it tasted just as good. So, other then being a visual atrocity, no harm done. Well, lesson learnt. There is always a next time….
Anyway, top with chopped almonds or pistachios and chill. Ready to eat in a hour.
Thats it, Friends. Have fun while I am gone and don't do anything I wouldn't do ;)…


